InfluxDB 1.8 설치 및 기초
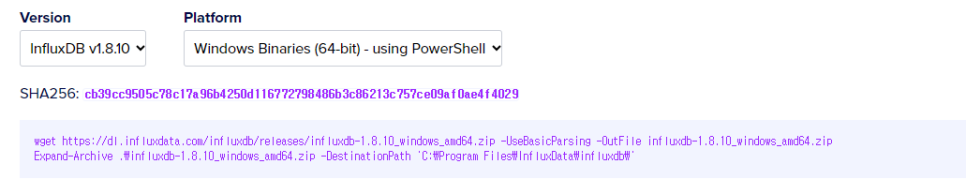
InfluxDB 1.8.10 버전으로 설치를 할거에요.
아래 다운로드 사이트에서 하단이미지의 빨간색 박스부분을 클릭해야, 1.X버전을 받을 수 있어요.
- 다운로드 링크
InfluxData Downloads
Register your download Get access to the new InfluxDB Open Source Software Onboarding Guide, product updates, and free InfluxDB stickers!
www.influxdata.com
2. 다운로드 링크에서 참조이미지
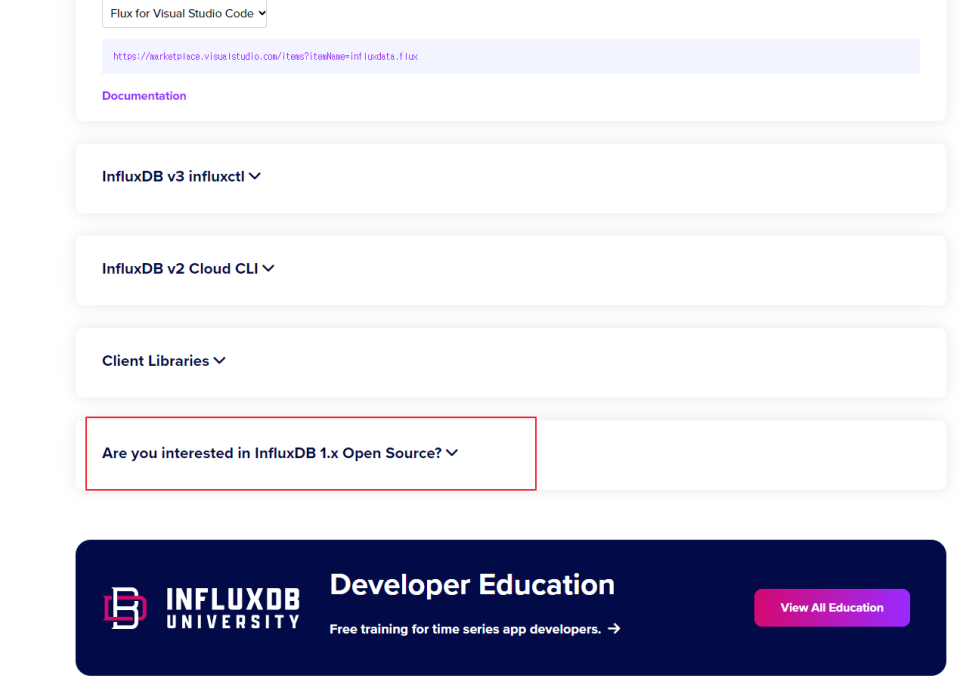
위 는 캡쳐 이미지 입니다. 1.X버전을 다운로드하기 위해서는 다운로드 링크에서 해당 텍스트를 클릭하세요.
3. 다운로드
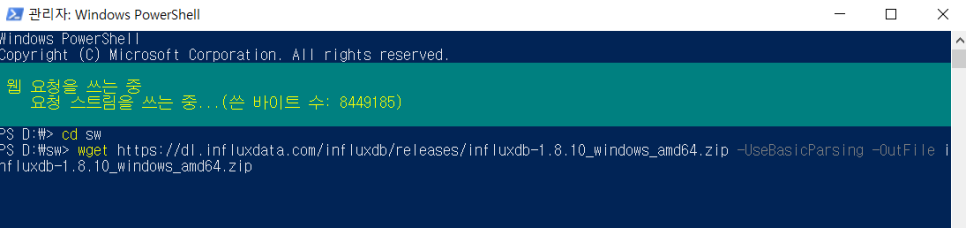
- 윈도우 PowerShell에서 wget로 다운로드 하세요.
|
wget https://dl.influxdata.com/influxdb/releases/influxdb-1.8.10_windows_amd64.zip -UseBasicParsing -OutFile influxdb-1.8.10_windows_amd64.zip
|
다운로드 이미지 캡쳐
4. 다운로드 중.....
5. 압축해제
- 윈도우 PowerShell에서 wget로 다운로드한 파일을 압축 해제가 가능합니다.
(아래 명령어로 압축해제시 PowerShell은 관리자 권한으로 실행을 해야 합니다.)
|
Expand-Archive .\influxdb-1.8.10_windows_amd64.zip -DestinationPath 'C:\Program Files\InfluxData\influxdb\'
|
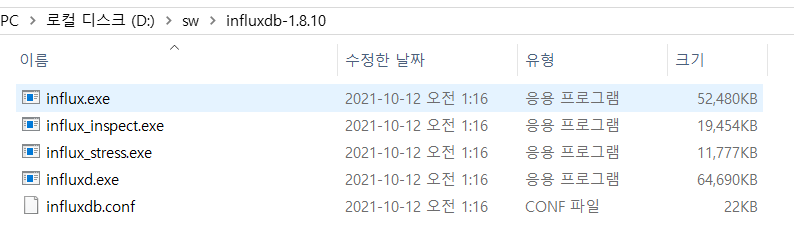
저는 D:\sw\influxdb-1.8.10 에 압축 풀었습니다.

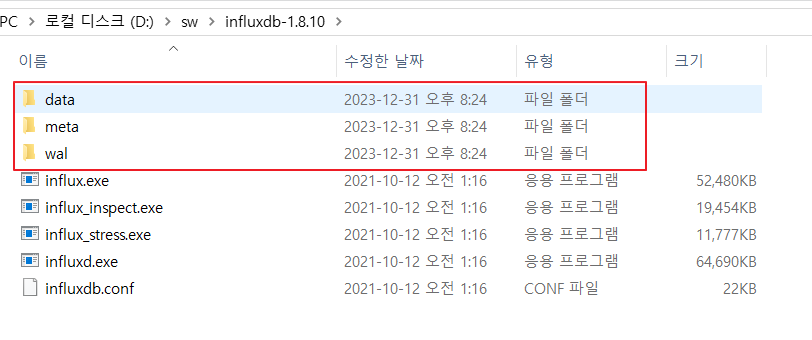
6. 압축 해제 후 설정
아래 3개 폴더를 생성하세요.
meta
data
wal
6-1. 기본 압축해제시 폴더
6-2. 폴더 3개를 추가 후 (빈폴더에요)
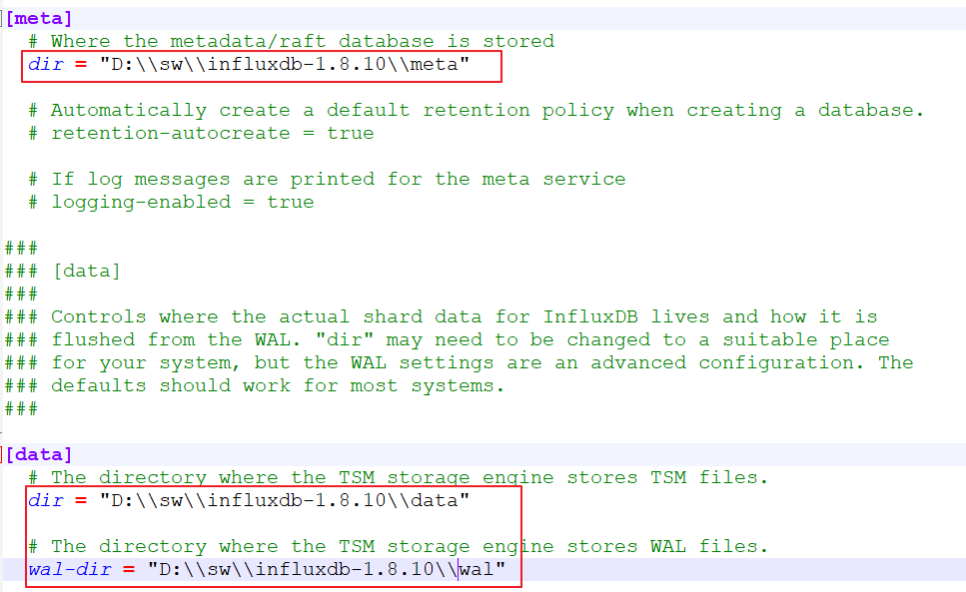
6-3. influxdb.conf 수정
아래 경로를 변경합니다.
기존 : /var/lib/influxdb/
변경 : D:\\sw\\influxdb-1.8.10\\
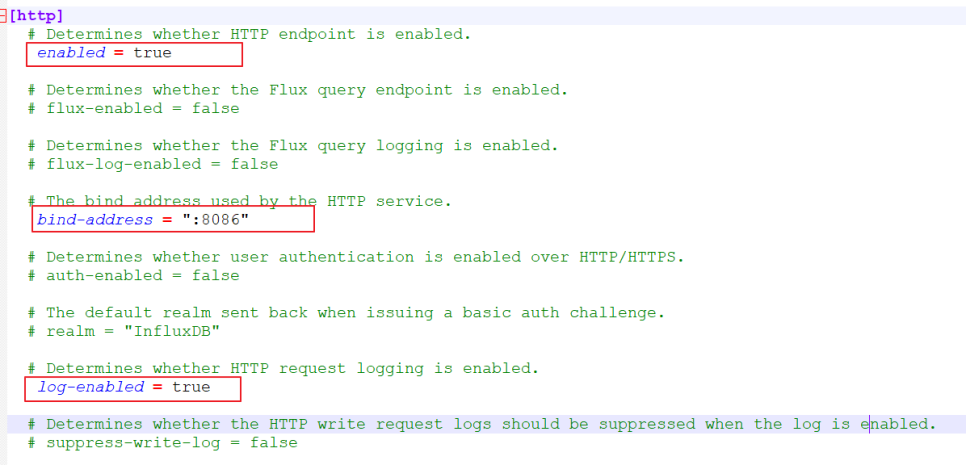
[http] 항목
enabled = true
bind-address = ":8086"
log-enabled = true
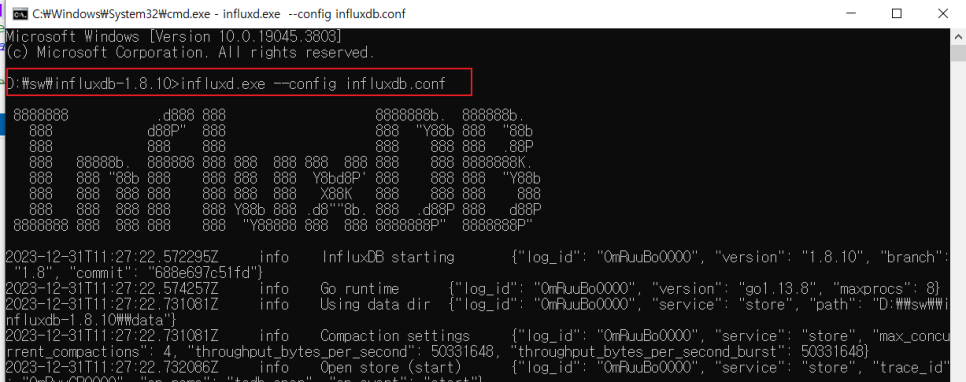
7. influxDB 실행
> influxd.exe --config influxdb.conf 엔터
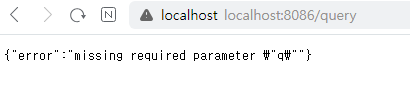
9. influxdb CLI
계정을 생성하기전에는 influxdb.conf 파일에서
[http]
auth-enabled = false 로 변경 후 계정을 생성
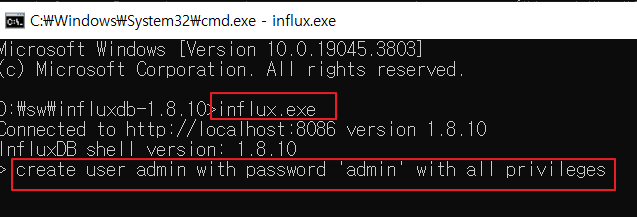
사용자 생성
> create user 아이디 with password '비밀번호' with all privileges
admin 계정 비밀번호 변경
> create user admin with password 'admin' with all privileges
권한부여
> grant all privileges to 아이디
DB별 권한부여
> grant [read, write,all] on 디비명 to 아이디
[http]
auth-enabled = true 로 변경 후 influxDB 재시작
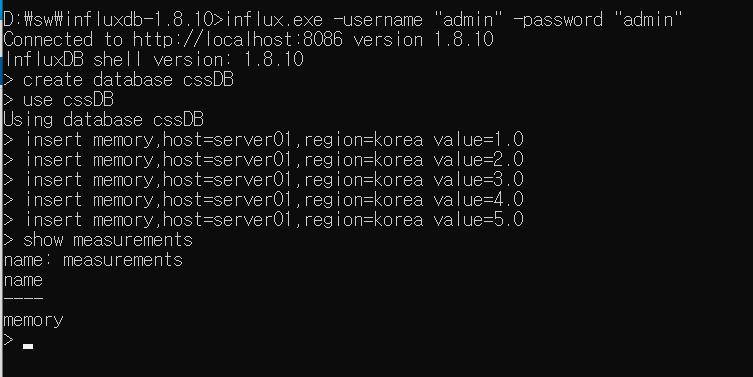
9-1. CLI 접속
> influx.exe -username "아이디" -password "비밀번호" 엔터 CLI에 접속

9-2. DB생성
> create database cssDB
> use cssDB
> using database cssDB
9-3. insert 하기
> insert memory,host=server01,region=korea value=1.0
> insert memory,host=server01,region=korea value=2.0
> insert memory,host=server01,region=korea value=3.0
> insert memory,host=server01,region=korea value=4.0
> insert memory,host=server01,region=korea value=5.0
9-4. measurements가 생성이 되었는지 확인
(measurements는 table 개념과 동일 합니다.)
> show measurements
> name: measurements
> name
> ----
> memory
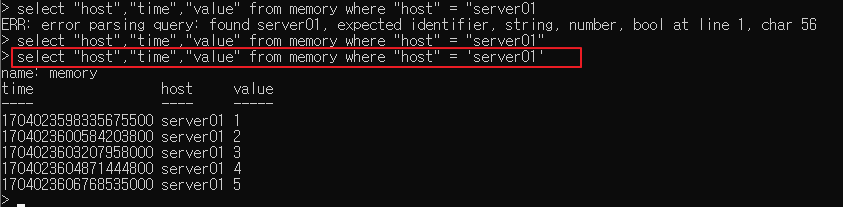
9-5. 조회 하기
> select * from memory
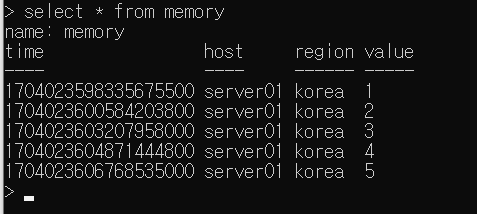
> select "host","time","value" from memory where "host" = 'server01'
where 절의 value는 따옴표로 입력하세요.
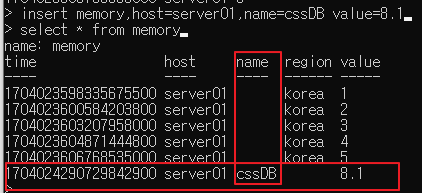
> insert memory,host=server01,name=cssDB value=8.1
별도의 컬럼처리가 없어도, 자동으로 컬럼이 생겨났다. influxDB는 스키마가 없이 동작을 한다.
끝.
'전산' 카테고리의 다른 글
| (추가) 2023 개인정보보호 종합포털 교육수료증 (0) | 2024.01.14 |
|---|---|
| influxDB의 시각화 Telegraf(텔레그라프) 에이전트 설치 (0) | 2024.01.01 |
| InfluxDB란? (0) | 2023.12.29 |
| 소프트웨어협회 경력 갱신 kosa (0) | 2023.07.11 |
| java jdk1.8.0.221 설치 (0) | 2023.06.06 |